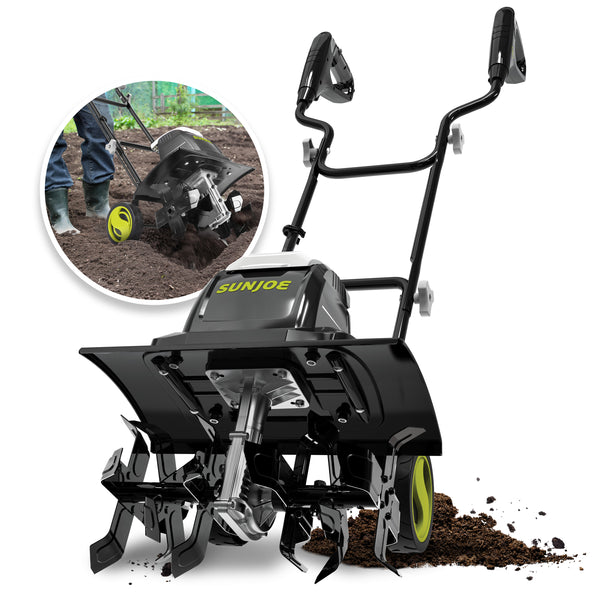
MEET THE TJ605E

Extension Cord Requirements
| Cord Length | Minimum Wire Gauge (AWG) |
|---|---|
| Up to 25 ft (7.6 m) | |
| 25 ft – 50 ft (7.6 m – 15 m) |
Key Components
Provides the main grip and houses the operating controls.
Must be pressed before the trigger switch can start the tiller.
Starts the motor when squeezed and stops the unit when released.
Connect the upper handle to the lower handle assembly.
Helps prevent the extension cord from disconnecting during operation.
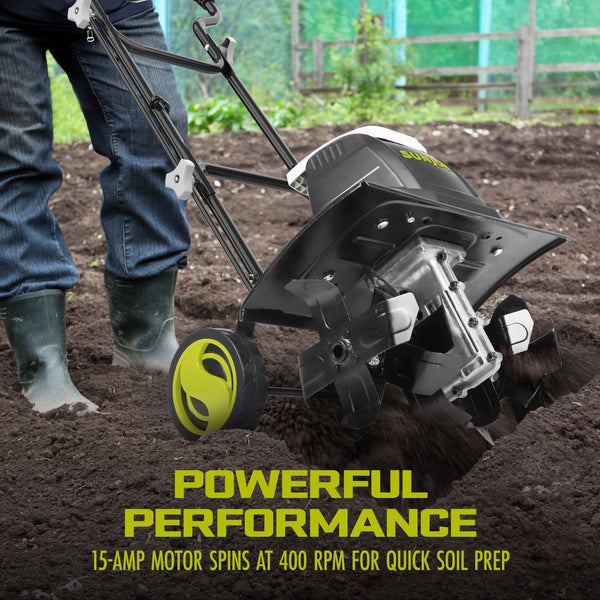
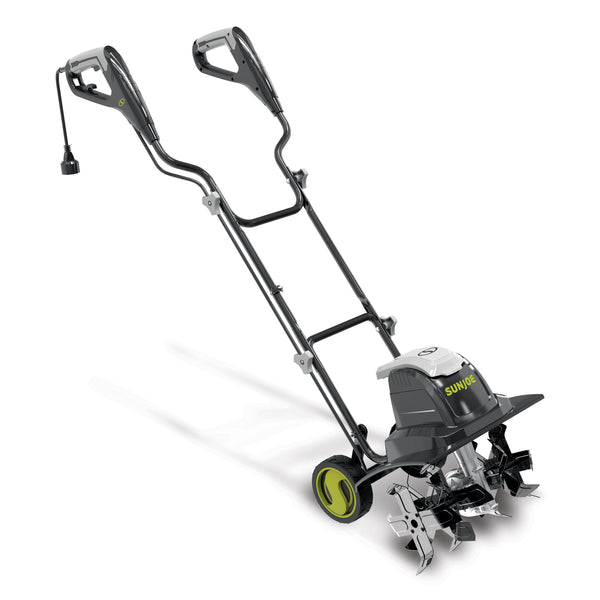
Contains the 15-amp electric motor that powers the tine assembly.
Helps shield the operator from debris thrown by the rotating tines.
Loosen soil and mix in compost, fertilizer, or other soil amendments.
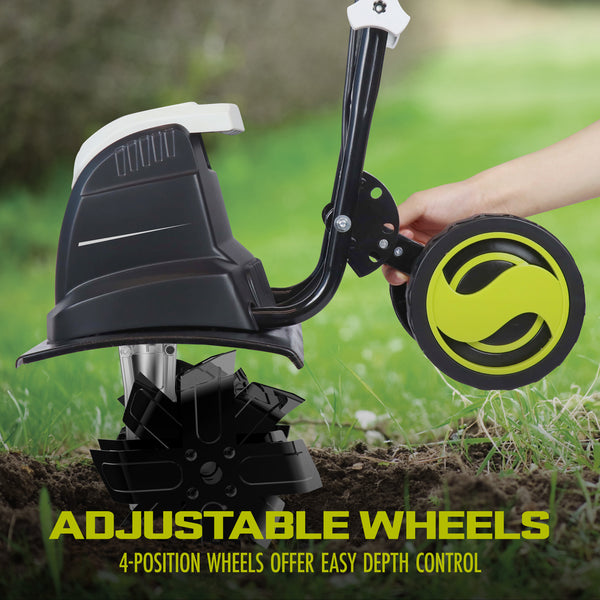
Offer four positions for transport and cultivating-depth adjustment.
Secures the rear wheels in the selected adjustment position.
Technical Specifications
| Specification | Details |
|---|---|
| Model Number | TJ605E |
| Motor | 15 A |
| Rated Voltage | 120V / 60 Hz |
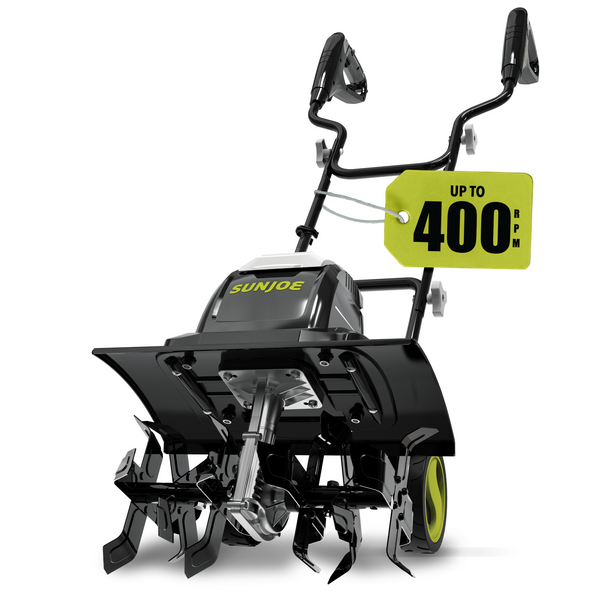
| No-Load Speed | 400 ± 10% rpm |
| Input Power | 1,800 W |
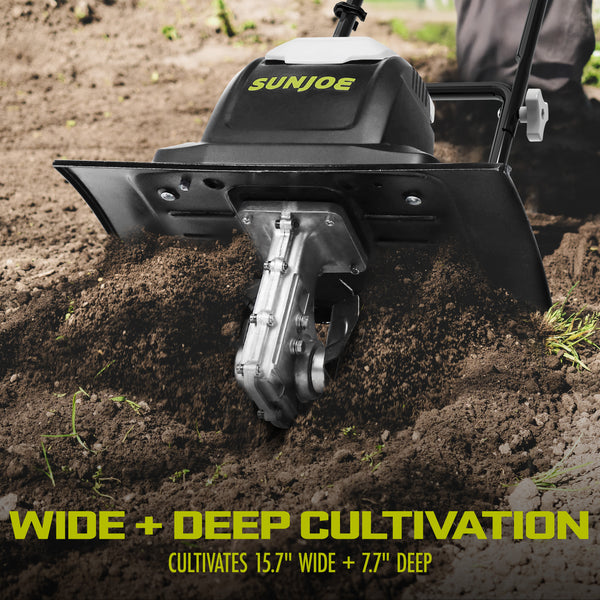
| Cultivating Width (Max) | 15.7 in. (40 cm) |
| Cultivating Depth (Max) | 7.7 in. (19.5 cm) |
| Number of Tines | 6 steel blades |
| Wheel Adjustment Positions | 4 |
| Handle Type | Foldable, 3 sections |
| Assembled Dimensions (L × W × H) |
44.9 in. × 17.1 in. × 39.4 in. (114.2 cm × 43.5 cm × 100 cm) |
| Net Weight | 23.9 lbs (10.8 kg) |
| Intended Use | Private / domestic use only |
| Insulation Type | Double-insulated (no grounding required) |
| Warranty | 2 Years |
What's in the Box
| Included Item | TJ605E |
|---|---|
| Electric tiller + cultivator housing (motor, tines, and guard pre-installed) | ✔ |
| Upper handle | ✔ |
| Middle handle bars (×2) | ✔ |
| Handle knobs and bolts (×4) | ✔ |
| Cable clips (×2) | ✔ |
| Operator's manual | ✔ |
Assembly
-
Unpack and inspect
Remove all items from the carton. Confirm every part is present and undamaged.
-
Attach the middle handle bars (Position A)
Remove bolts from the knobs and set aside. Slide the two middle handle bars into the lower handle and secure with the first set of knobs and bolts (Position A). Tighten fully on both sides.
-
Connect the upper handle (Position B)
Slide the upper handle onto the middle handle and secure with the second set of knobs and bolts (Position B). Tighten fully on both sides. All four knobs must be fully tightened before use.
-
Route and clip the cord
Secure the appliance cord through the two cable clips along the handle to keep it tidy and out of the way of the tines.
-
Connect the extension cord
Use an approved outdoor-rated extension cord. Loop the cord through the hole in the handle and around the extension cord restraint hook before connecting, to prevent accidental disconnection during use.
Getting Started
Adjusting Wheel Depth
Before tilling, pull the lock pin on the rear wheel bracket and move to one of 4 available positions. A higher wheel position = deeper tine penetration. Always confirm the wheels are securely locked before operating.
Turning On
-
Connect to power
Plug into a 120V outlet using your outdoor extension cord. Loop it through the restraint hook first.
-
Press the Safety Lock Button
Press and hold the safety lock button (top of right handle) with your thumb.
-
Squeeze the Trigger Switch
With the lock button held, squeeze the trigger switch with your fingers. Once running, you may release the lock button.
Turning Off
Simply release the trigger switch. The tines will continue rotating for a few seconds — do not touch them until they have fully stopped.
Tilling Tips
Move vertically in straight rows — up and down
Move horizontally left to right in overlapping rows
Result: even, fully-tilled soil with no missed spots
- Walk at a normal, steady pace — do not rush or force the machine
- Till in slightly overlapping rows for full coverage
- Apply light downward pressure on the handles when turning to lift the tines
- Do not till extremely wet or extremely dry soil — both can damage the unit
- Do not try to till too deeply or force the tines into very hard or resistant soil
- If the unit strikes a foreign object, stop immediately, unplug, and inspect before continuing
- If excessive vibration occurs at any time, stop the machine and inspect for damage
- Keep the air vents clear of debris at all times to prevent overheating
Changing the Tines
The unit comes with 6 steel tines replaceable in pairs (3 per side). Always replace both pairs at the same time to avoid imbalance.
-
Power off and unplug
Place the unit on a flat, stable surface.
-
Remove the old tines
Remove the 2 bolts and 2 nuts, then slide the steel blade tines off the drive shaft.
-
Clean the drive shaft
Spray or rub biodegradable oil onto the drive shaft.
-
Install new tines
Align the new tines on the drive shaft so all holes line up. Insert the 2 bolts through the holes and secure with the 2 nuts.
Care & Maintenance
After Every Use
-
Clean the tines and drive shaft
Use a dry brush or cloth to remove all soil, dirt, and debris from the tines, drive shaft, and air vents.
-
Lubricate the tines
Spray or rub biodegradable oil onto the tines to prevent rust and extend service life.
-
Wipe the handles
Clean soiled grips with a damp cloth. Keep handles dry, clean, and free of oil or grease.
Periodic Checks
- Inspect and tighten all nuts, bolts, and handle knobs
- Confirm tines rotate freely without debris buildup
- Inspect the extension cord for wear or damage — replace immediately if found
- Verify all safety labels and guards are in place and readable
Storage
- Disconnect the extension cord before storing
- Store in a dry, frost-free, dark, and well-ventilated indoor location
- Ideal storage temperature: 50°F – 86°F (10°C – 30°C)
- Keep out of reach of children
- Use the original packaging or cover with a protective cloth
Troubleshooting Guide
Possible Causes
- Power cord not properly connected
- Extension cord damaged or incorrect type
- Safety lock button not held while triggering
- Outlet has no power
Solutions
- Confirm unit is securely plugged into a working 120V outlet
- Check the extension cord for damage and confirm it is outdoor-rated
- Hold the safety lock button before squeezing the trigger
- Test the outlet with another device
Possible Causes
- Debris wrapped around or stuck in tines
- Soil too hard, compact, or wet
- Tines worn or damaged
- Air vents blocked
Solutions
- Stop, unplug, and clean tines thoroughly
- Work in multiple passes instead of forcing the tool
- Clear air vents with a soft brush
- Replace worn tines with model TJ605E-2
Possible Causes
- Foreign object struck during operation
- Tines bent, missing, or unevenly installed
- Loose bolts or knobs
Solutions
- Stop the unit immediately and unplug
- Inspect tines for damage or imbalance
- Check and tighten all nuts, bolts, and handle knobs
- If vibration continues, contact support at 1-866-225-9723
Is This Normal?
- Yes — tines continue rotating for a few seconds after power-off due to motor momentum. This is normal and expected behavior.
What To Do
- Do not touch the tines until they have completely stopped
- If spinning persists abnormally long, contact support
Possible Causes
- Air vents blocked with debris
- Forcing tines into extremely hard soil
- Extended continuous use without breaks
Solutions
- Stop and allow the motor to cool completely
- Clean air vents with a soft brush
- Take regular breaks during extended use
- Avoid forcing the tool into very compact soil
Possible Causes
- Cord not secured to restraint hook
- Cord being pulled or stepped on
Solutions
- Always loop the extension cord through the restraint hook before connecting
- Keep the cord clear of the work path
- Optionally, tie both cords together as shown in the operator's manual (Table 1)