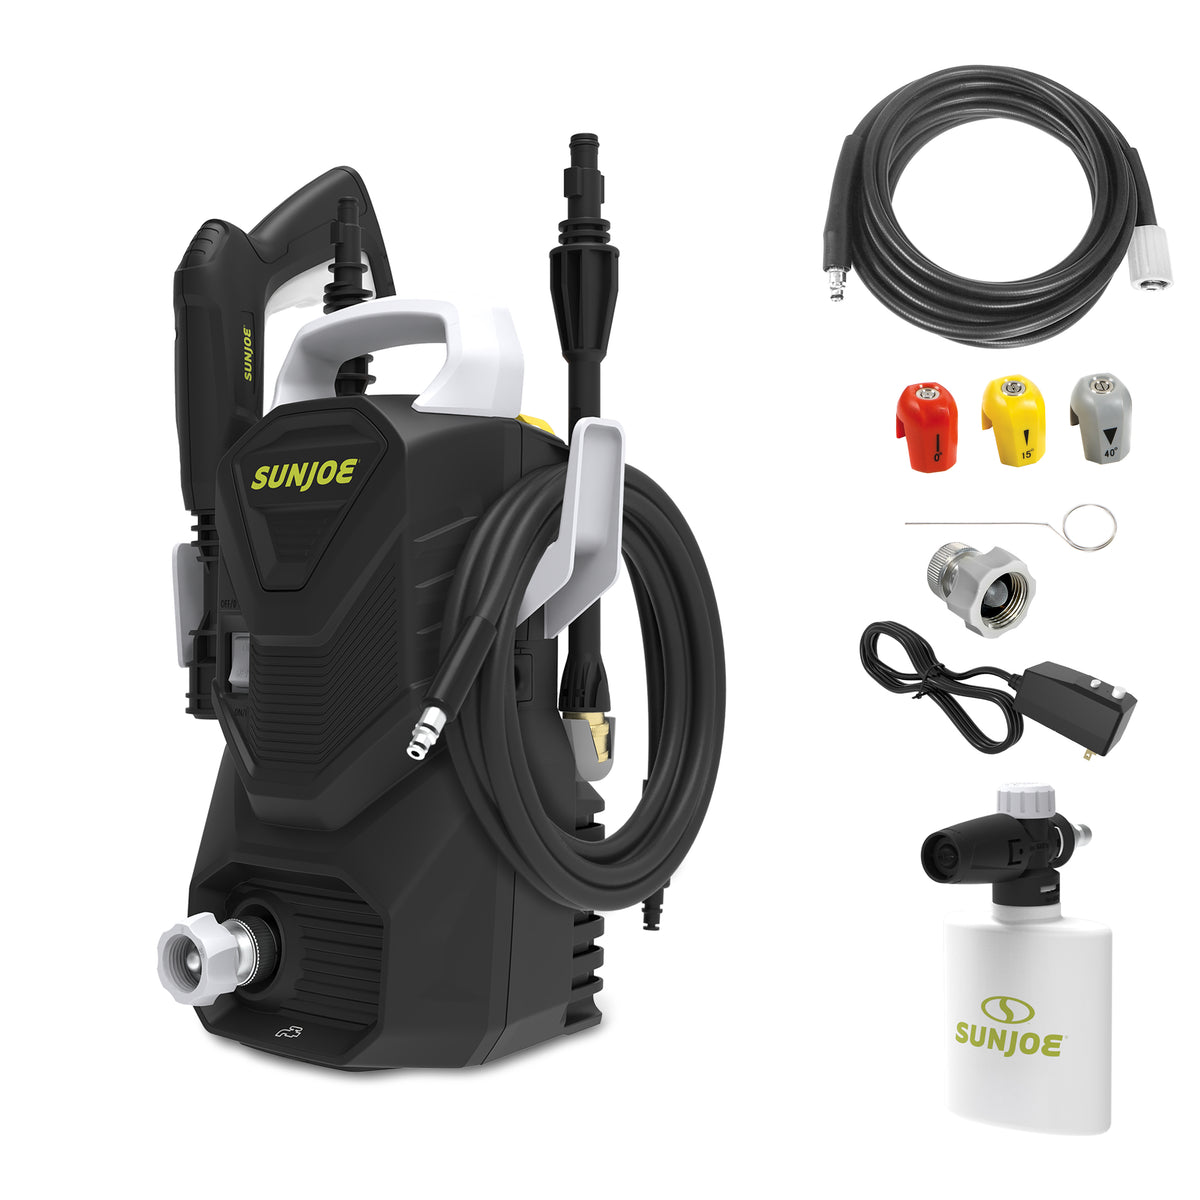
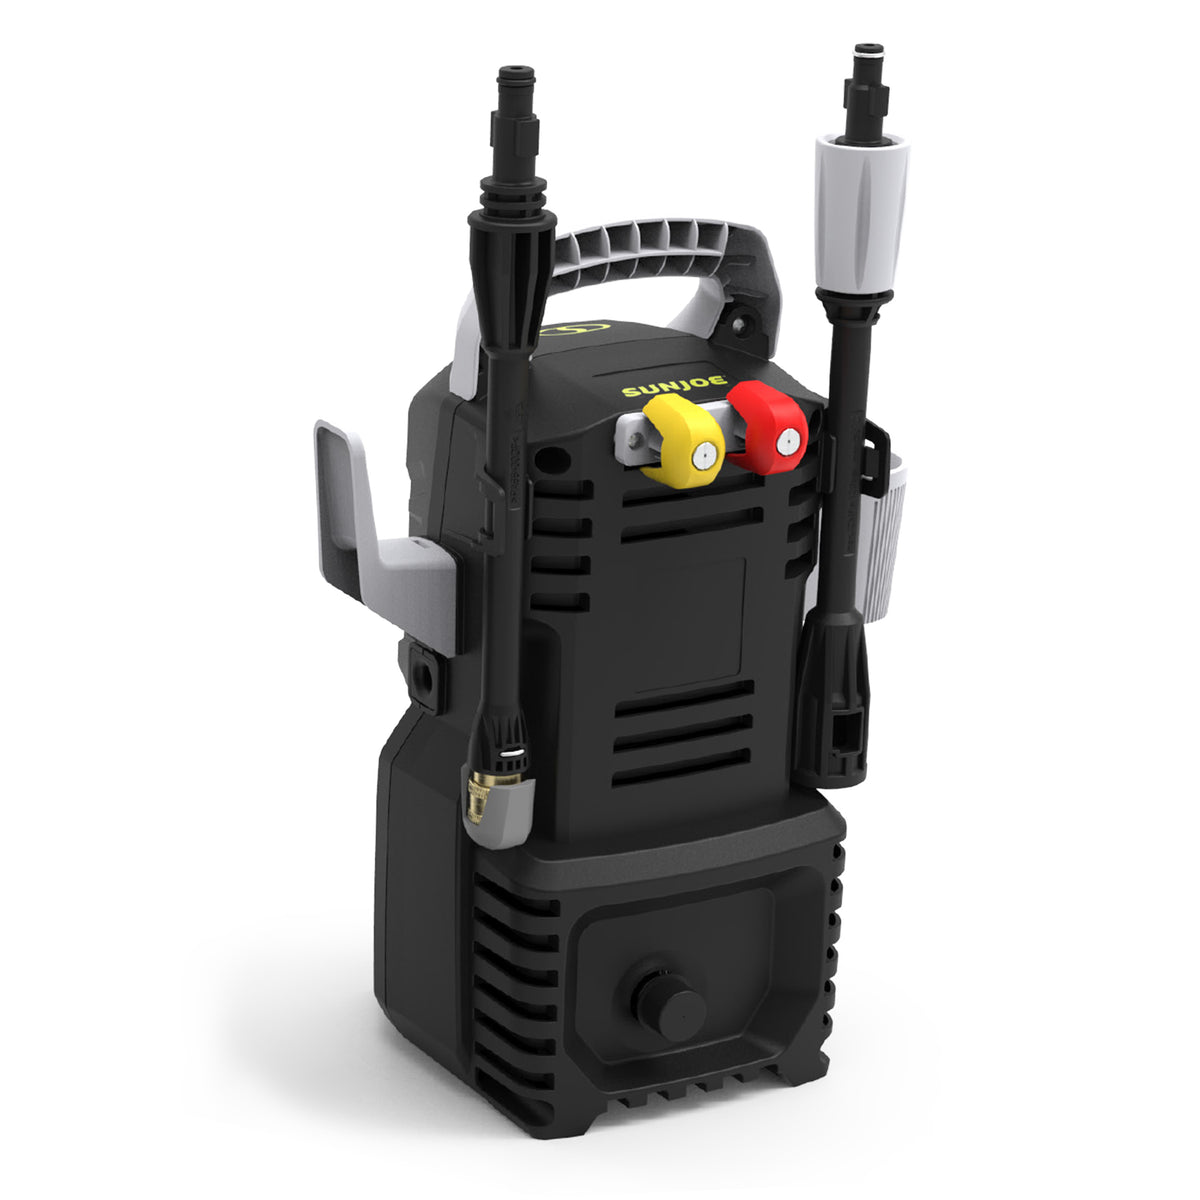
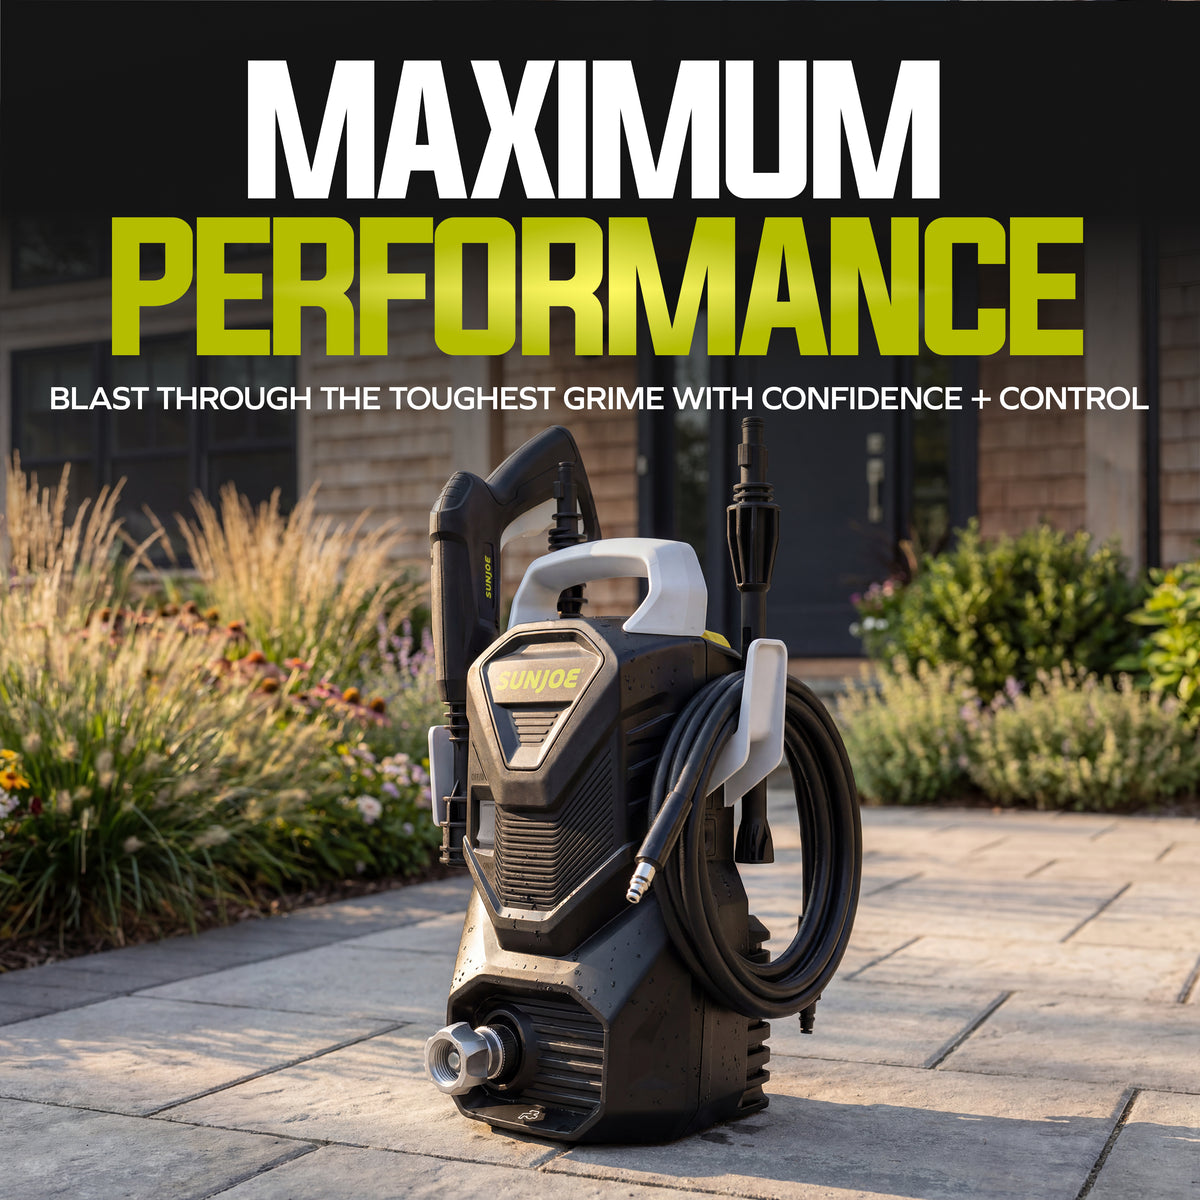
Meet the SPX1500-Q



Using Nozzles
0° Red Nozzle
Spot cleaning and hard-to-reach areas. Very concentrated stream — use with caution on delicate surfaces.
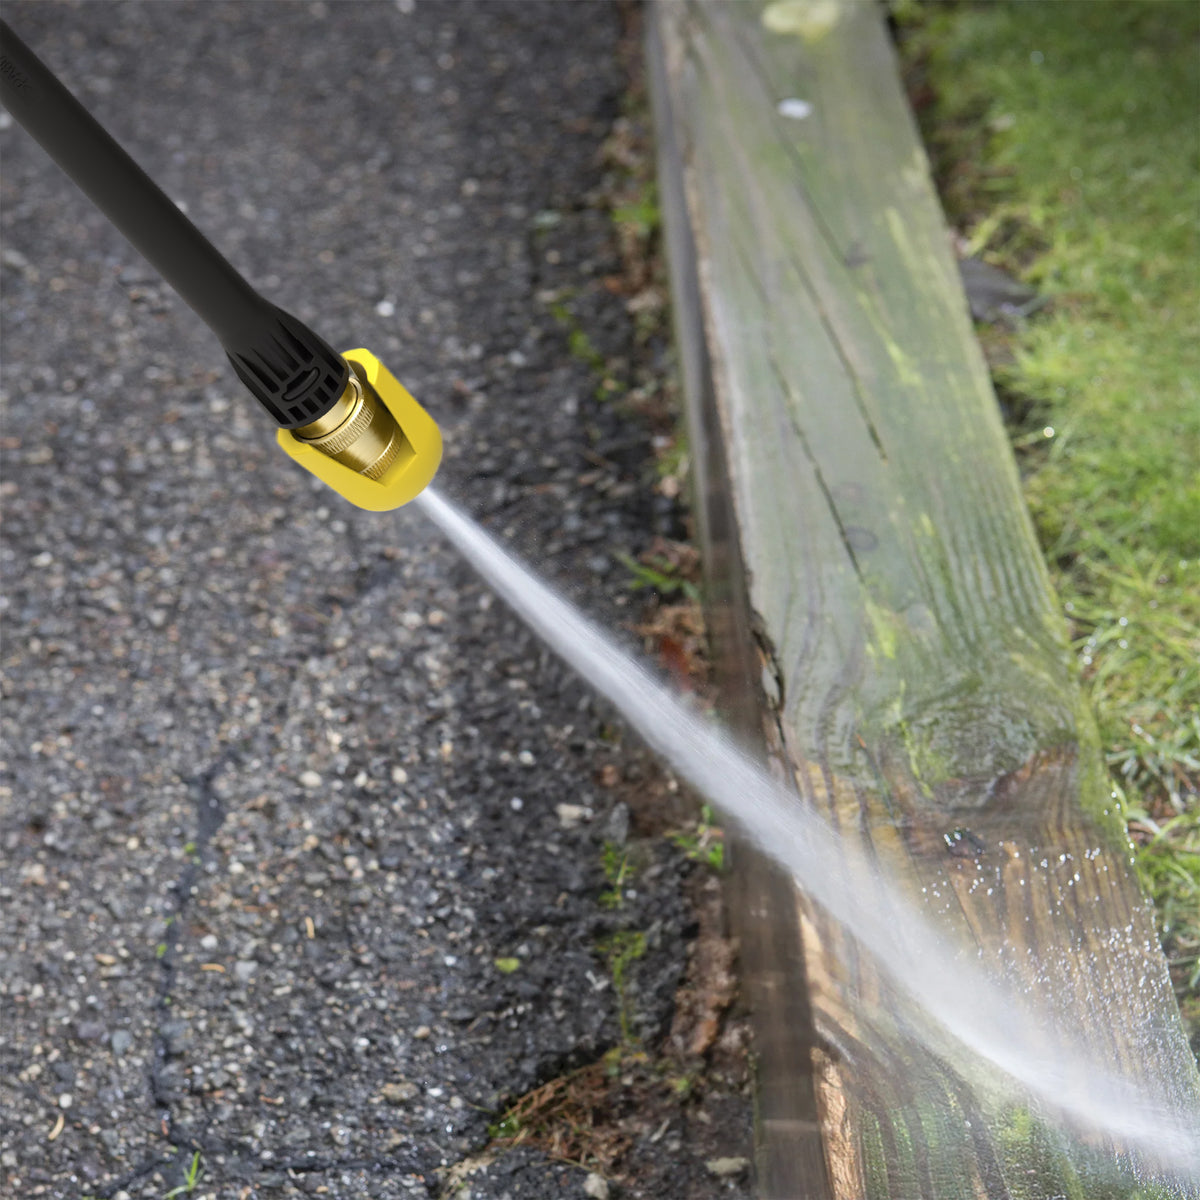
15° Yellow Nozzle
Tough cleaning jobs — concrete, brick, and heavy grime. Focused stream for stubborn stains.
40° Gray Nozzle
Gentle cleaning — cars, furniture, siding, windows. Wide fan spray is safest for delicate surfaces.
To connect a nozzle: Turn off the washer and shut off water. Engage the safety lock. Pull back the brass Quick-Connect collar, insert the nozzle, and release to click into place.
To disconnect a nozzle: Turn off the washer and shut off water. Pull the trigger to release pressure. Engage the safety lock. Pull back the collar and remove the nozzle.
Key Components
Provides a convenient grip for lifting, carrying, and repositioning the pressure washer.
Controls power to the motor and pump during operation.
Provides extended reach and built-in ground-fault protection.
Keeps the power cord organized during storage and transport.
Controls the flow of pressurized water and includes a safety lock.
Extends reach and connects the trigger gun to the Quick-Connect lance.
Allows fast installation and removal of compatible spray nozzles.
Holds up to 12 fl oz of pressure-washer detergent for soap-assisted cleaning.
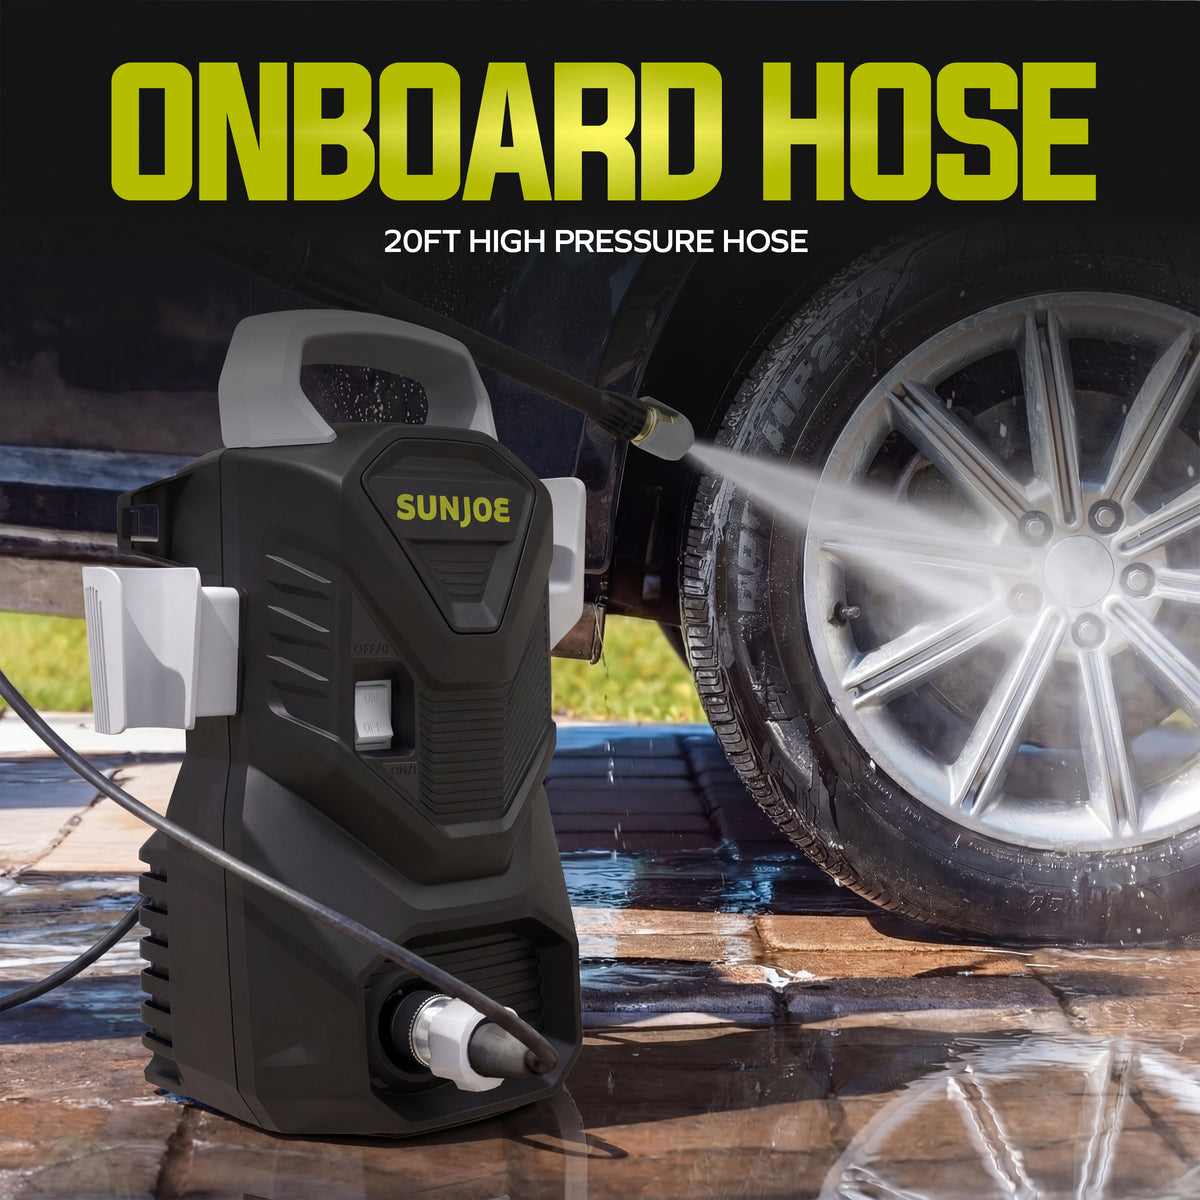
20 ft hose carries pressurized water from the washer to the trigger gun.
Clears debris from blocked nozzle openings to help restore spray performance.
Technical Specifications
| Specification | Details |
|---|---|
| Model Number | SPX1500-Q |
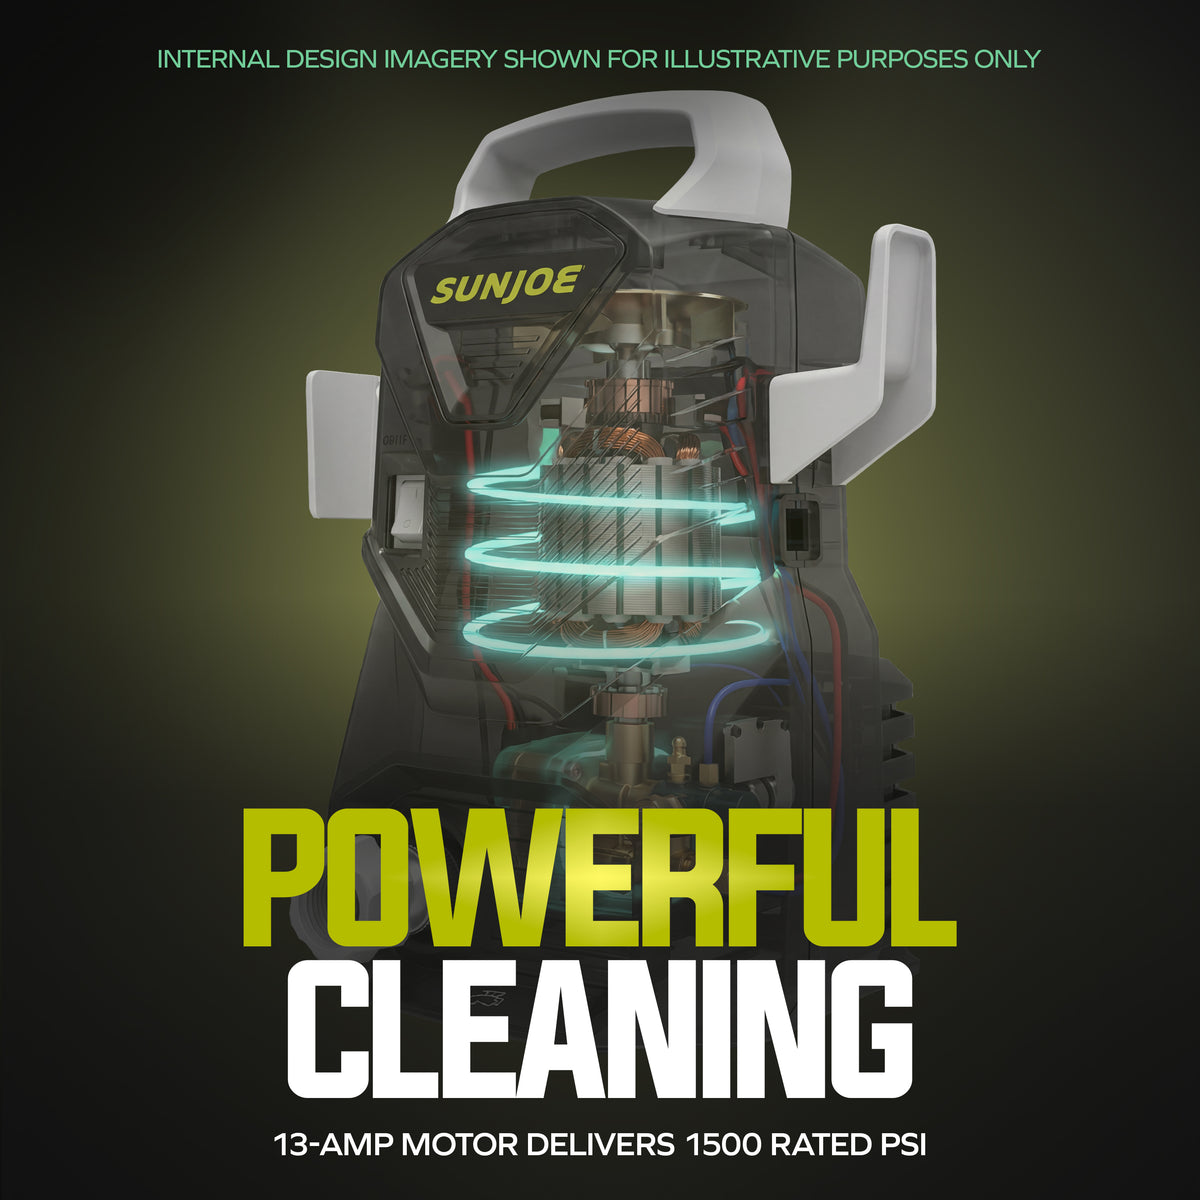
| Motor | 13 A |
| Rated Voltage | 120V ~ 60 Hz |
| Rated Pressure | 1500 PSI |
| Rated Flow | 1.1 GPM (4.2 L/min) |
| Max Water Inlet Temperature | 104°F (40°C) |
| Max Water Inlet Pressure | 0.7 MPa |
| High-Pressure Hose Length | 20 ft (6 m) |
| Power Cord Length | 35 ft (10.7 m) with GFCI |
| Quick-Connect Nozzles | 0° (red), 15° (yellow), 40° (gray) |
| Foam Cannon Capacity | 12 fl oz (0.35 L) |
| Net Weight | 9.4 lbs (4.25 kg) |
| Intended Use | Residential use only |
| Insulation Type | Double-insulated (no grounding required) |
| Operating Temperature | 32°F – 104°F (0°C – 40°C) |
| Warranty | 2 Years |
What's in the Box
| Included Item | SPX1500-Q |
|---|---|
| Electric pressure washer (motor housing with built-in GFCI power cord) | ✔ |
| Handle | ✔ |
| Nozzle base | ✔ |
| Garden hose adapter (female coupler) | ✔ |
| Cord holder | ✔ |
| Trigger gun | ✔ |
| Spray wand assembly | ✔ |
| Quick-Connect lance | ✔ |
| Needle clean-out tool | ✔ |
| High-pressure hose (20 ft) | ✔ |
| Three (3) Quick-Connect nozzles: 0° red, 15° yellow, 40° gray | ✔ |
| Foam Cannon bottle (12 fl oz) | ✔ |
| Two (2) Phillips head screws ST4.8×16 (for handle) | ✔ |
| Two (2) Phillips head screws ST3.5×13 (for nozzle base) | ✔ |
| Operator's manual | ✔ |
Assembly
Part 1: Spray Gun Assembly
Tools required: Phillips head screwdriver
-
Install the handle
Following the alignment grooves at the top of the machine body, slide the handle into position from front to back (solid side facing front). Secure with the two (2) ST4.8×16 Phillips head screws.
-
Install the nozzle base
Slide the nozzle base into its alignment grooves. Secure with the two (2) ST3.5×13 Phillips head screws.
-
Attach the trigger gun holder
Slide the trigger gun holder into position on the machine body until it clicks into place.
-
Install the cord holder
Slide the cord holder into position to keep the GFCI power cord neatly managed during use.
Part 2: Connect the Spray Gun to the Washer
-
Assemble the spray wand
Fit the spray wand assembly into the trigger gun. Rotate the rotatable end-piece until both parts are completely locked. Then fit the two wand pieces together and rotate until locked.
-
Attach a Quick-Connect nozzle
Pull back the brass Quick-Connect collar, insert the desired nozzle, and release — the nozzle will click into place. Start with the 40° gray nozzle for general cleaning.
-
Connect the high-pressure hose to the trigger gun
Connect the Quick-Connect end of the high-pressure hose to the trigger gun until you hear a click.
-
Connect the high-pressure hose to the washer
Push the hose end completely onto the high-pressure water outlet on the machine, then screw clockwise to secure.
-
Connect the garden hose
Attach the garden hose adapter (female coupler) to the water inlet of the washer. Then thread your garden hose (male end, at least 1/2 in. internal diameter) into the adapter. Attach the other end of the garden hose to your water supply.
Getting Started
Before First Use
- Complete assembly fully and confirm all screws are tightened
- Inspect the unit, hose, and power cord for any shipping damage
- Confirm the water supply is turned on and connected before starting
- Never operate the washer dry — always ensure a steady water supply is connected first
- Check that the mains voltage and frequency match the spec on the rating plate (120V / 60 Hz)
Starting the Pressure Washer
-
Turn on the water supply completely
Open the water tap all the way to ensure full flow to the pump.
-
Reset the GFCI if needed
Plug the GFCI power cord into a 120V outlet. If the power indicator light is not on, press the "Reset" button on the GFCI until the indicator illuminates.
-
Purge air from the system
Unlock the safety lock on the trigger gun. Press the trigger for a few seconds until water flows steadily — this purges air and residual pressure from the hose. Release the trigger.
-
Turn on the motor
With the trigger pressed, push the ON/OFF switch to the ON (I) position to start the pressure washer. Keep the trigger pressed when restarting after any stop.
Shutting Down
-
Turn the switch to OFF (0)
Push the motor switch to the OFF position and unplug the power cord from the outlet.
-
Turn off the water supply
-
Release residual pressure
Hold the trigger to release all remaining water pressure from the hose and wand.
-
Disconnect hoses
Disconnect the garden hose from the water inlet on the unit. Then disconnect the high-pressure hose from the trigger gun handle. Release the trigger and engage the gun safety lock.
Using Detergent & Foam Cannon
-
Fill the foam cannon bottle
Load the bottle with a suitable, non-corrosive pressure washer detergent. Do not overfill.
-
Attach and lock
Attach the bottle to the spray gun and twist clockwise until the locking lug clicks into place.
-
Apply from bottom to top
Apply detergent from the bottom to the top of the dry surface. This dissolves dirt most effectively.
-
Let it dwell — don't let it dry
Allow the detergent to remain on the surface for a short time. Never let it dry on the surface before rinsing.
-
Rinse with the pressure washer
Switch to a clean-water nozzle (15° or 40°) to rinse the surface thoroughly.
Care & Maintenance
After Every Use
-
Clean the water inlet filter
Remove the filter from the water inlet and rinse with warm water to prevent foreign matter from clogging the pump. Reinstall securely.
-
Clean the nozzles
Use the included needle clean-out tool to clear any debris from the nozzle hole. Remove the nozzle from the wand, clean the hole, and rinse.
-
Empty the detergent bottle
If you used the foam cannon, empty and rinse the detergent bottle before storing.
-
Drain hoses
Disconnect and drain all hoses. Allow water to fully drain from the pump and all hose connections before storing.
Periodic Checks
- Inspect the power cord and high-pressure hose for any wear, cracks, or damage — replace immediately if found
- Check all hose connections and couplings for leaks
- Inspect the trigger gun locking mechanism for proper function
- Keep the machine on a stable, flat surface during operation and storage
Storage
- Store indoors in a dry, covered area not subject to adverse weather
- Always store in a frost-free area — never below 32°F (0°C)
- Empty water from all hoses, the pump, and the detergent bottle before storing
- Do not store near a furnace or heat source that may dry out the pump seals
- A pump protector is recommended to prevent cold-weather damage during winter storage
Winterizing (Long-Term Storage)
-
Disconnect all water connections
-
Purge remaining water
Turn on the machine for a few seconds until remaining water in the pump exits. Turn off immediately.
-
Apply pump protector
Operate the washer with a non-corrosive/non-toxic anti-freeze, pump saver, or pump protector before long-term storage.
-
Store properly
Store in a room that does not reach freezing temperatures. Do not allow the high-pressure hose to become kinked in storage.
Troubleshooting Guide
Possible Causes
- Not plugged into a working outlet
- Fuse has blown
- GFCI not reset
- Defective or incorrect extension cord
Solutions
- Confirm unit is securely plugged in and outlet is live
- Press the GFCI Reset button until the indicator illuminates
- Replace fuse; turn off other devices on the same circuit
- Try the unit without an extension cord
Possible Causes
- Pump sucking air
- Valves dirty, worn, or stuck
- Pump seals worn out
Solutions
- Check hoses and connections are airtight
- Clean or replace valves/seals
- Call customer support for service assistance
Possible Causes
- Fuse blown
- Incorrect mains voltage
- Thermal sensor activated (overheating)
- Nozzle partially blocked
Solutions
- Replace fuse; check circuit load
- Confirm voltage matches rating plate
- Leave washer for 5 minutes to cool, then restart
- Clean the nozzle using the needle clean-out tool
Possible Causes
- Air in inlet hose
- Inadequate water supply
- Nozzle or water filter blocked
- Hose kinked
Solutions
- Hold trigger until pressure stabilizes (purges air)
- Ensure water supply meets delivery capacity
- Clean nozzle and water inlet filter
- Straighten the hose to remove kinks
Possible Causes
- Pump or hoses frozen
- No water supply connected
- Water filter blocked
- Nozzle blocked
Solutions
- Wait for pump/hoses to thaw
- Connect and turn on the water inlet
- Clean the water inlet filter
- Clean the nozzle with the needle clean-out tool
Possible Causes
- Pump or spray gun leaking
- Trigger mechanism broken
Solutions
- Inspect all connections for leaks
- Call customer support for service assistance