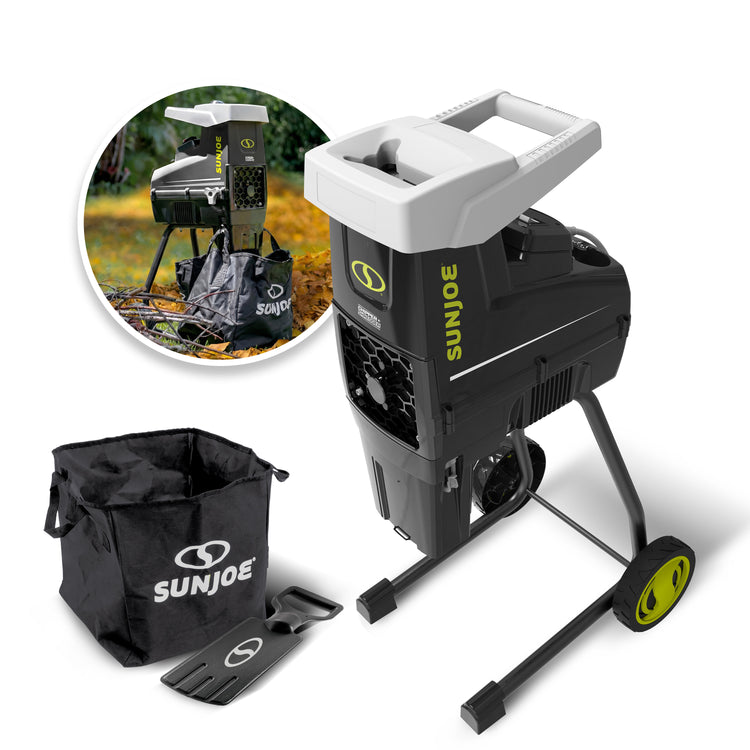
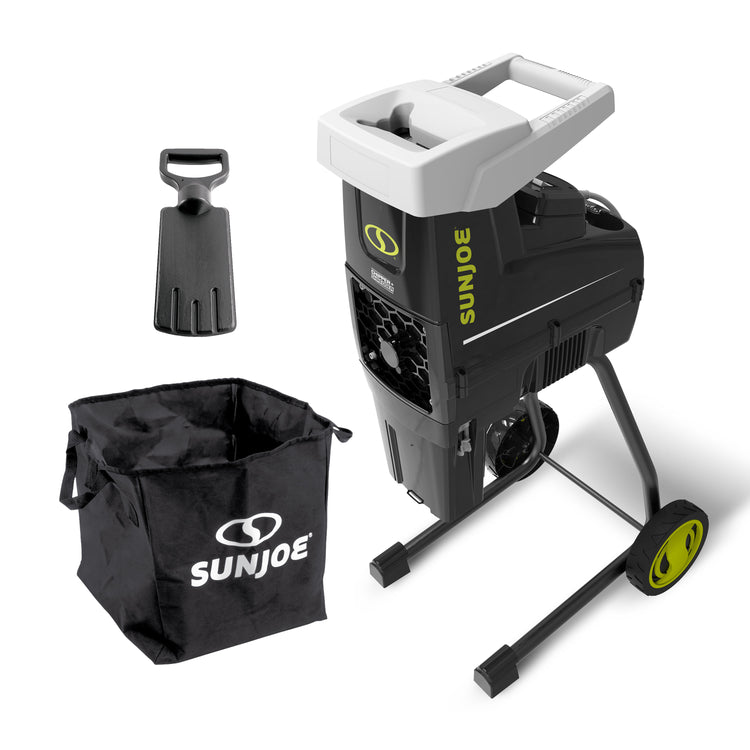
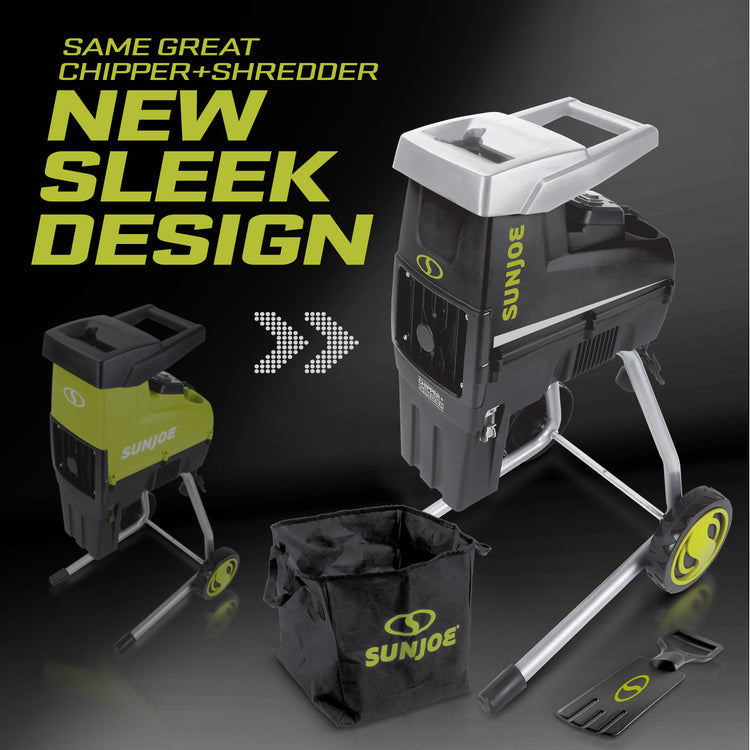
Meet the CJ603E
Key Components
Feeding funnel — opening where approved yard debris is inserted
Handle — helps move and position the chipper/shredder
On button — starts operation when the forward/reverse switch is set correctly
Off button — powers the unit off
Forward/reverse switch — selects forward operation or reverse clearing mode
Safety switch — built-in safety control near the top panel
Extension cord restraint hook — helps prevent accidental cord disconnect
Paddle — supplied tool for safely pushing material into the hopper
Ejection slot — outlet where shredded material exits
Collection bag — catches processed chips and shredded debris
Counterplate adjusting knob — helps maintain shredding performance
6-inch wheels — support portability around the yard
Technical Specifications
| Specification | CJ603E |
|---|---|
| Product Type | Electric wood chipper + shredder |
| Best Use | Branch and twig mulching; leaves, twigs, brush, and branches for mulch or compost prep |
| Power Type | Electric |
| Rated Voltage | 120V ~ 60 Hz |
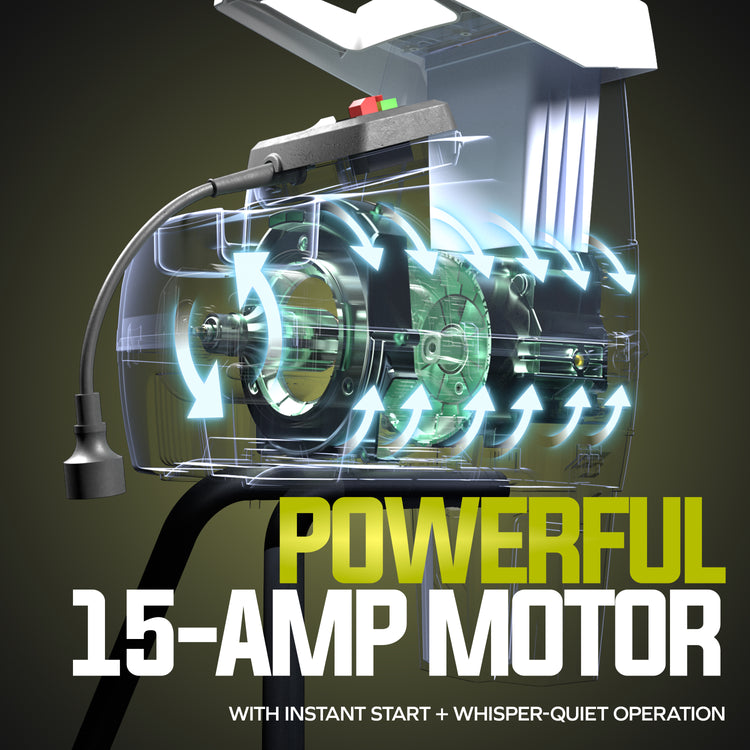
| Motor | 15 amps |
| Feed Type | Manual |
| No Load Speed | 60 rpm |
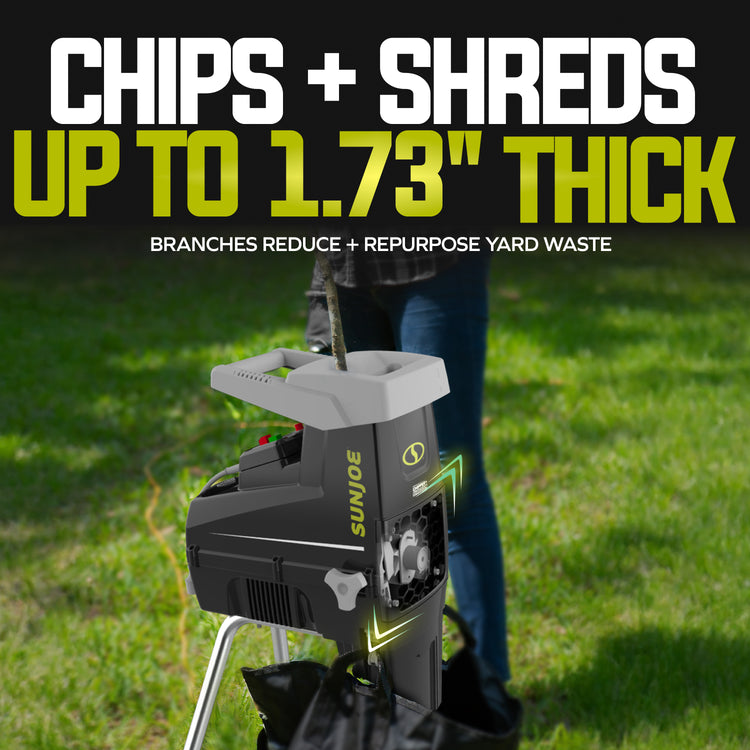
| Cutting Diameter | 1.73 in. / 4.4 cm |
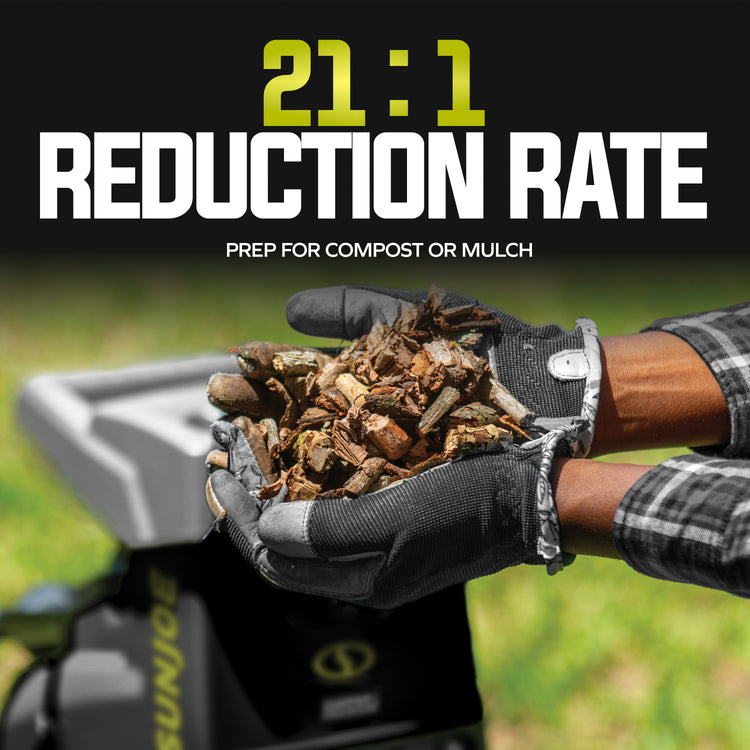
| Reduction Ratio | 21:1 |
| Hopper Dimensions | 5 in. x 3.1 in. x 1.2 in. / 12.7 cm x 8 cm x 3 cm |
| Wheel Size | 6 in. / 15.2 cm |
| Product Dimensions | 23.5 in. L x 12.5 in. W x 16.5 in. H |
| Net Weight | 39 lbs / 17.7 kg |
| Warranty | 2 Year Warranty |
What's in the Box
| Included Item | CJ603E |
|---|---|
| Electric wood chipper + shredder main body | ✔ |
| Paddle | ✔ |
| Supporting legs | ✔ 2 included |
| Wheel axle with hardware | ✔ |
| Wheels | ✔ 2 included |
| Wheel caps | ✔ 2 included |
| Nuts | ✔ 4 included |
| Hex key wrench | ✔ |
| Wrench | ✔ |
| Collection bag | ✔ |
| Manual | ✔ |
Before You Chip or Shred
Extension Cord Guide
| Extension Cord Length | Minimum Wire Gauge |
|---|---|
| Up to 25 ft / 7.6 m | 14 AWG |
| Over 25 ft to 50 ft / 7.6 m to 15 m | 12 AWG |
Assembly Overview
Fit the wheel axle
Remove the wheel nuts and washers from the axle, insert the axle through the two supporting legs, then reinstall the washers.
Install the wheels
Place each wheel onto the axle, secure with the wheel nut, and tighten so the wheel can still rotate freely.
Attach the wheel caps
Press each wheel cap firmly into the center of the wheel.
Attach the stand assembly
Turn the main body upside down and secure the standing assembly with wheels to the bottom of the main body using the 4 nuts.
Return upright
Turn the unit upright on its wheels and confirm it is stable before use.
Starting + Stopping
Secure the extension cord
Use the extension cord restraint hook located near the appliance cord to help prevent accidental disconnection.
Start in forward mode
Press the forward end of the forward/reverse switch, then press the ON button.
Stop the unit
Move the forward/reverse switch to the middle position, then press the OFF button.
Wait for complete stop
Wait until all moving parts have stopped before leaving, cleaning, clearing, or inspecting the unit.
Basic Shredding Guide
Hang the collection bag
Attach the collection bag handles onto the two collection bag hooks before starting.
Feed material slowly
Insert approved yard debris into the hopper through the feeding funnel. Add only enough material to prevent blockage.
Use the paddle if needed
If material needs help moving through the funnel, use the supplied paddle. Do not use hands, sticks, or other objects.
Let the machine work at its pace
Keep hold of branches until they are automatically drawn in, and do not overload the chipper/shredder.
Finish with dry branches
Keep a few dry branches for the end of the session to help clear material through the unit.
Let material fully exit before turning off
Only switch the unit off after all shredding material has passed through the ejection slot.
Material Guide
| Material | Guidance |
|---|---|
| Branches and twigs | Suitable up to 1.73 in. / 4.4 cm diameter. Feed at the machine’s working speed. |
| Branches with leaves | Allow each branch with leaves to be completely chopped before feeding new material. |
| Wilted garden waste | Can be shredded, especially when alternated with dry branches to reduce clogging. |
| Roots | Remove soil and stones before shredding. |
| Soft, damp kitchen waste | Do not shred. Take soft, damp kitchen waste straight to compost. |
| Metal, rocks, bottles, cans, or foreign objects | Do not feed into the machine. Remove these before operation. |
Overload Protection + Jam Clearing
Turn off and wait
If power cuts out, turn the unit off and wait at least 1 minute before restarting.
Press the reset button
Press the reset button on the control panel.
Use reverse mode
Push the reverse end of the forward/reverse switch, then press the ON button to help move jammed branches back out of the feeding funnel.
Restart forward mode
After jammed material is cleared, return to normal forward operation using the starting instructions.
Counterplate Adjustment
Stop and unplug the unit
Turn the chipper/shredder off and disconnect it from power before adjusting.
Adjust slowly
Turn the counterplate adjusting knob clockwise slowly until a slight friction noise is heard and fine aluminum shavings fall from the ejection slot.
Resume use
Reconnect power and continue operation after the adjustment is complete.
Care + Maintenance
Clean after each use
Use a warm damp cloth and a soft brush to clean the chipper/shredder after operation.
Do not spray with water
Never spray, hose down, or wash the unit with water. Do not use detergents or solvents.
Keep vents clear
Make sure ventilation slots are clean and free of debris.
Keep openings clean
Make sure the feeding funnel and ejection slot are clean and clear of waste material.
Check hardware
Make sure all nuts, bolts, and screws are tight and secure before use.
Storage
Disconnect from power
Unplug the wood chipper + shredder before storing.
Clean before storage
Clean the unit with a damp cloth or hand brush and remove debris from the feeding funnel and ejection slot.
Inspect for wear
Check for worn, loose, or damaged parts. Pay special attention to the counterplate and visible hardware.
Store indoors
Store in a dry, clean, cool area out of reach of children. Do not store next to corrosive materials such as fertilizer or rock salt.
Inspect the extension cord
Wipe the extension cord clean and replace it immediately if it is cut or damaged.
Troubleshooting Guide
Use these quick checks for common CJ603E concerns. Always turn the unit off, unplug it, and wait for all moving parts to stop before inspecting, cleaning, or clearing blocked material.
Possible Causes
- Unit is not plugged into a working outlet
- Extension cord is damaged or not connected securely
- Overload protection has responded
- Forward/reverse switch is not set to forward
Solutions
- Check that the unit is plugged into a working outlet
- Confirm the extension cord is not damaged
- Press the reset button and wait 1 minute before restarting
- Use reverse mode to clear jammed material if needed
- Press the forward end of the forward/reverse switch before starting
Possible Causes
- Material is jammed in the feeding funnel
- Cutting blades are blocked
- Ejection slot is blocked
- Material is too damp or overloaded
Solutions
- Turn off, unplug, and wait for a complete stop
- Examine the feeding funnel and remove blocked material safely
- Use reverse mode to help back material out
- Check and clear the ejection slot
- Feed smaller amounts and alternate damp material with dry branches
Possible Causes
- Counterplate needs adjustment
- Counterplate is worn
- Blade may be worn or damaged
Solutions
- Adjust the counterplate using the counterplate adjusting knob
- Replace the counterplate if worn
- Use only the correct replacement blade if replacement is needed
- If the issue cannot be corrected, route to support
Possible Causes
- Overload protection activated
- Too much material was fed at once
- Branches or wet debris caused a jam
Solutions
- Turn off and unplug the unit
- Wait at least 1 minute
- Press the reset button
- Use reverse mode to clear jammed material
- Feed material more slowly when restarting
Possible Causes
- Processed material is not falling freely
- Collection bag is full or positioned incorrectly
- Unit was switched off before material fully exited
Solutions
- Turn off, unplug, and wait for a complete stop
- Empty or reposition the collection bag
- Clear the ejection slot safely
- Before shutting down, allow all material to pass through the ejection slot
Possible Causes
- Foreign object entered the cutting mechanism
- Loose parts or hardware
- Possible blade or internal damage
Solutions
- Turn the unit off immediately
- Unplug and wait for all moving parts to stop
- Inspect for visible damage and loose parts
- Do not continue using if unusual noise or vibration remains
- Route to support if damage is suspected