
Meet the X20-CBLW-4A
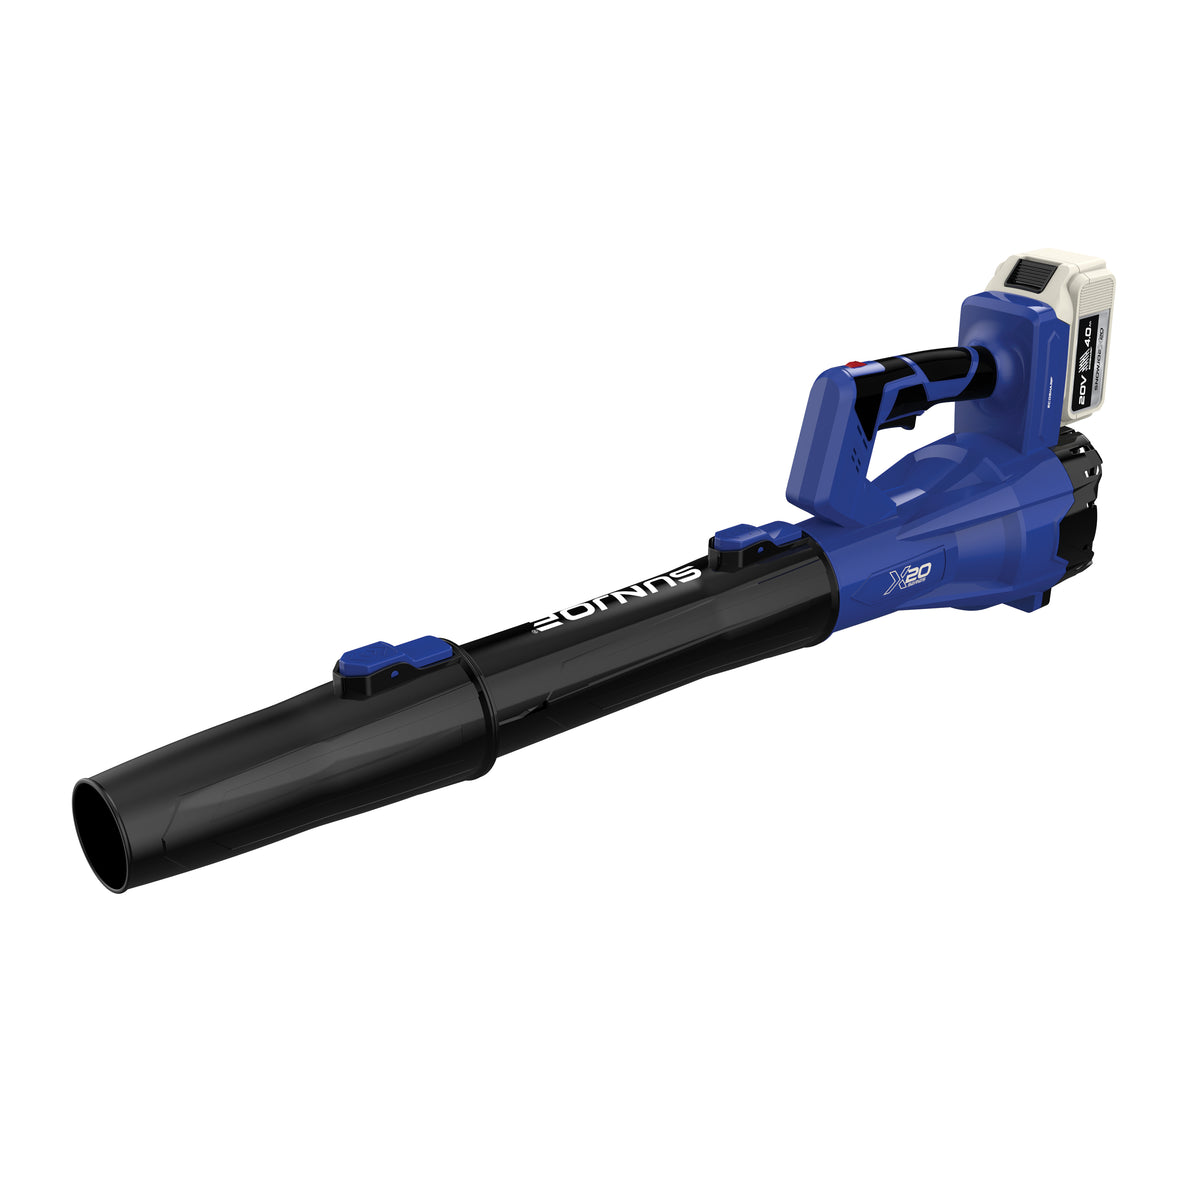
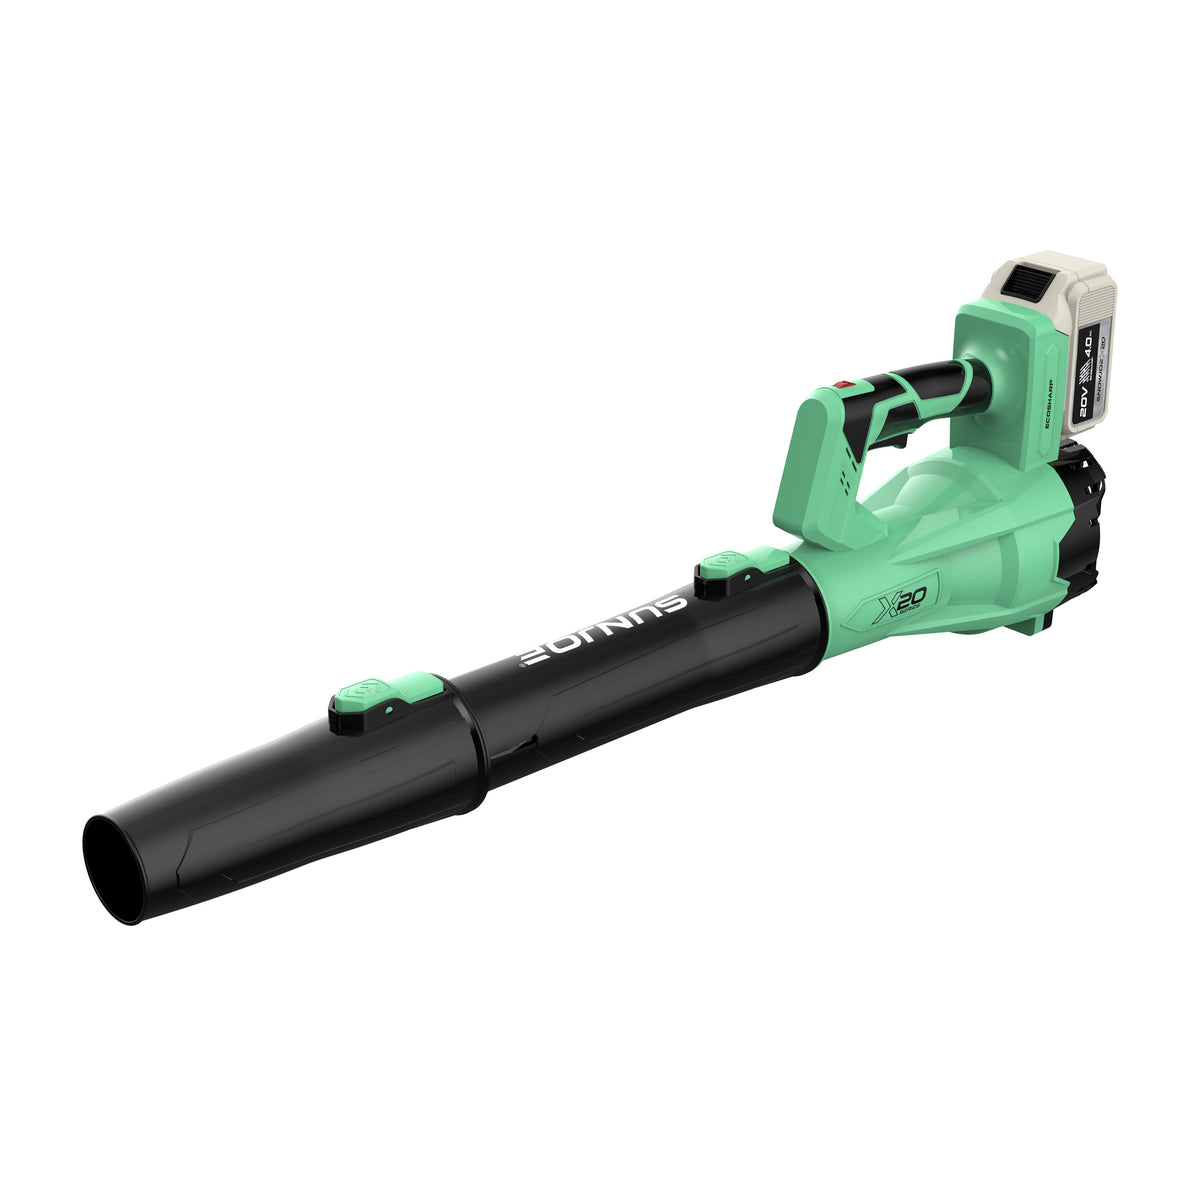
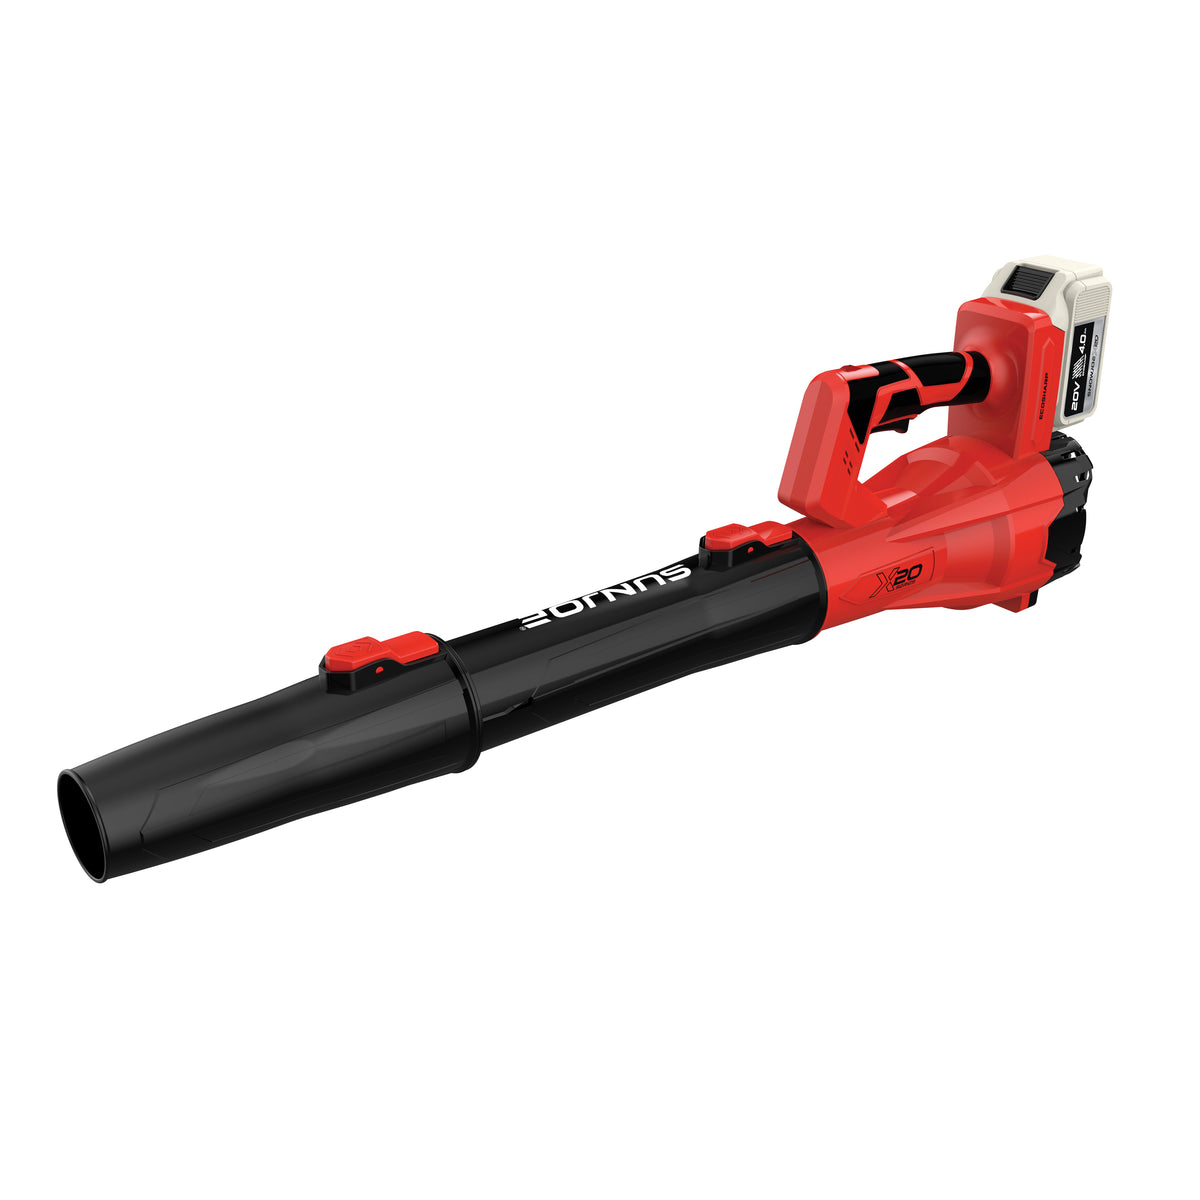
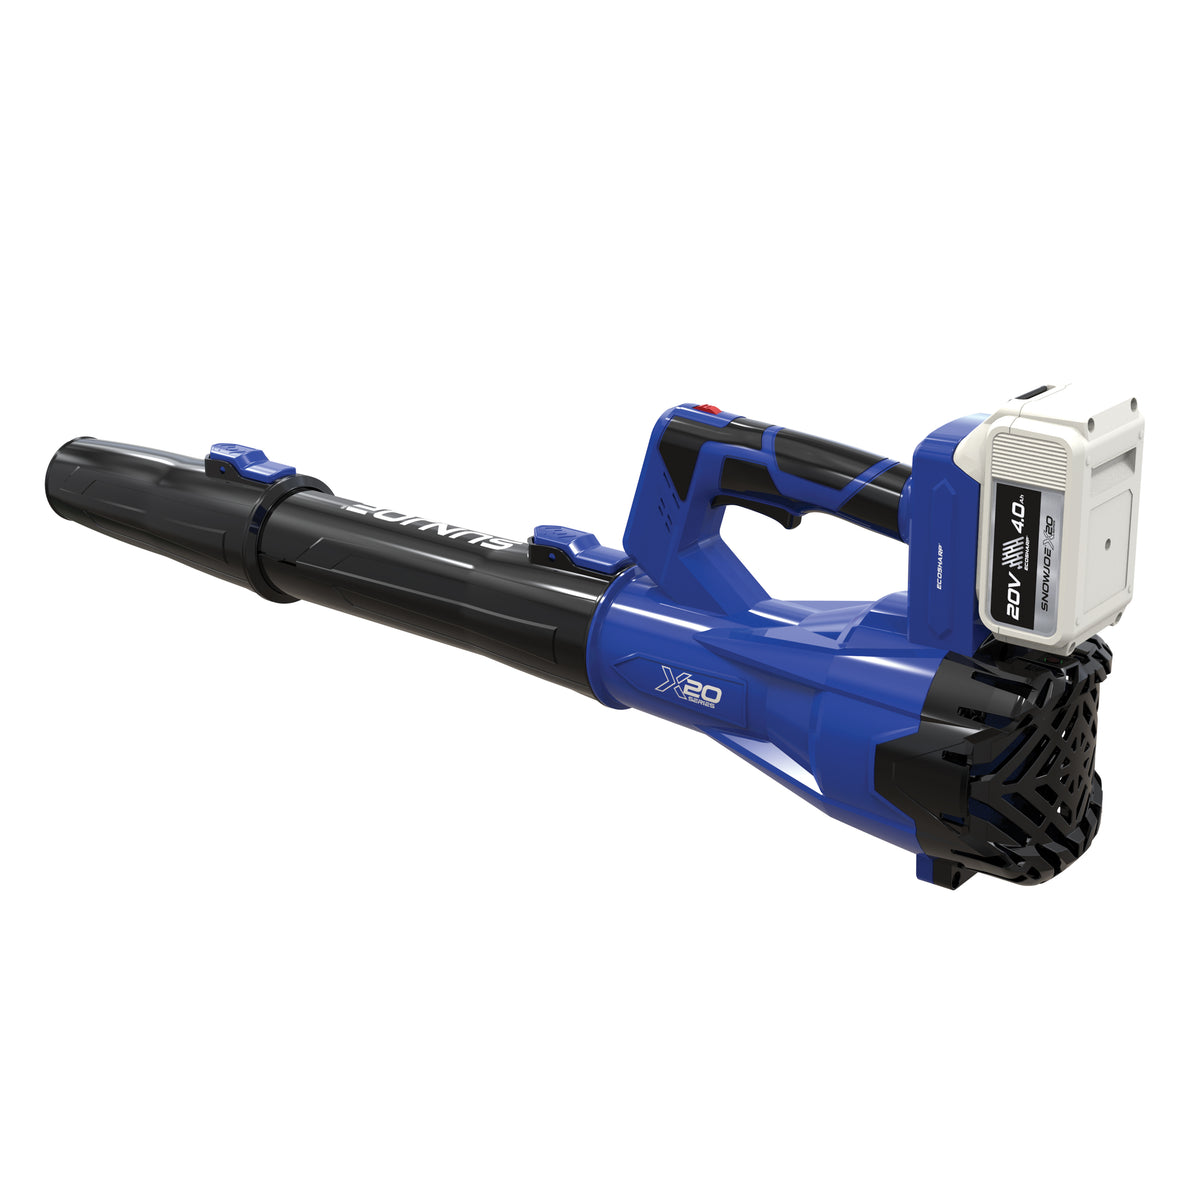
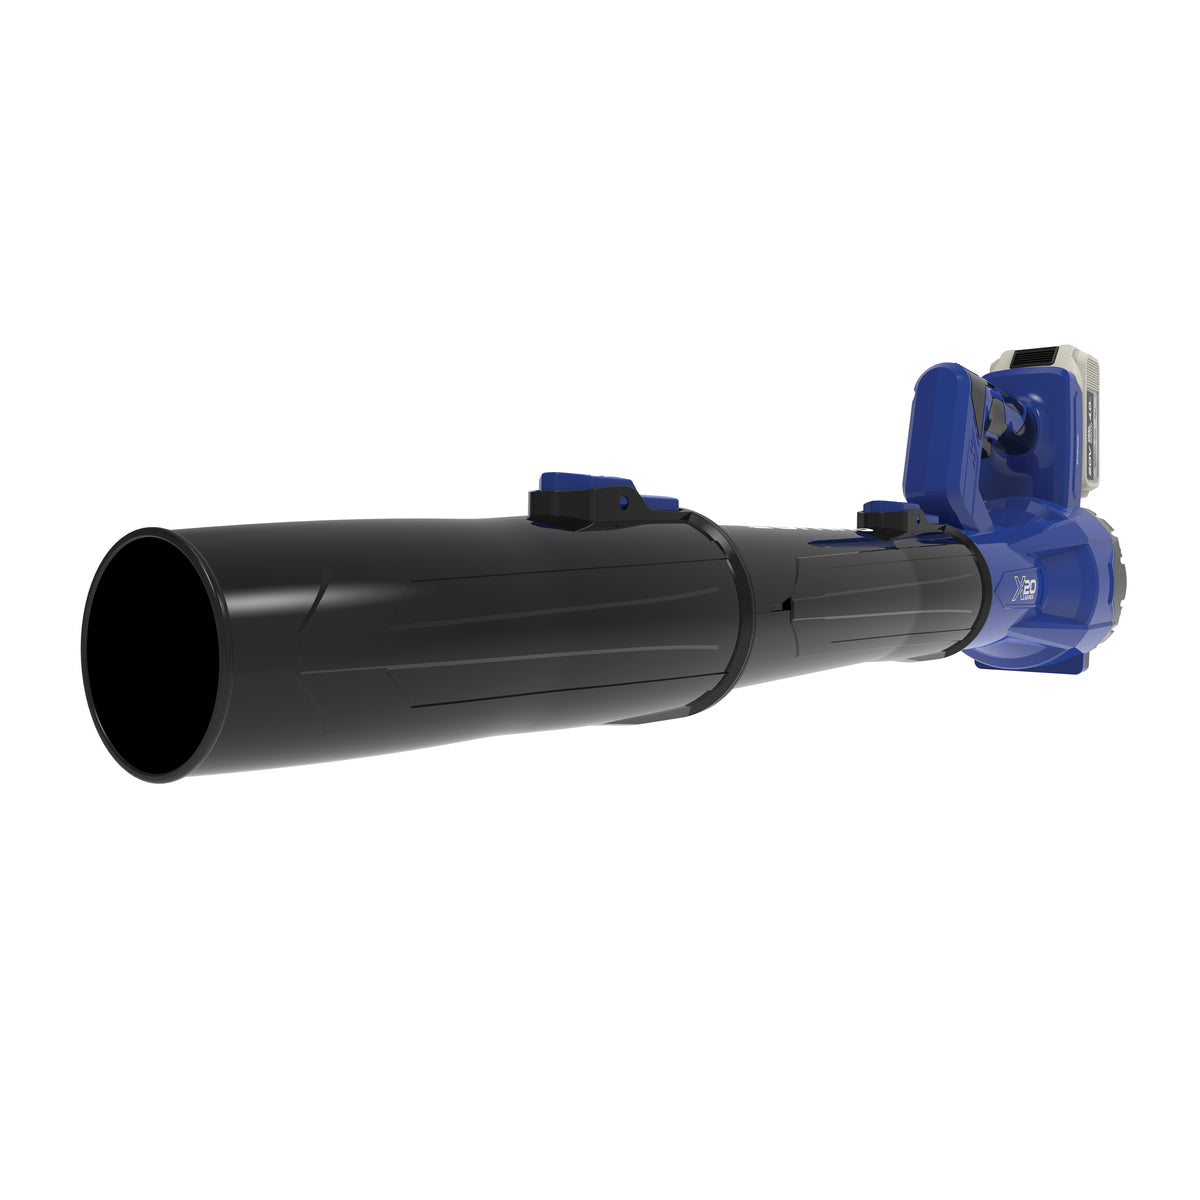
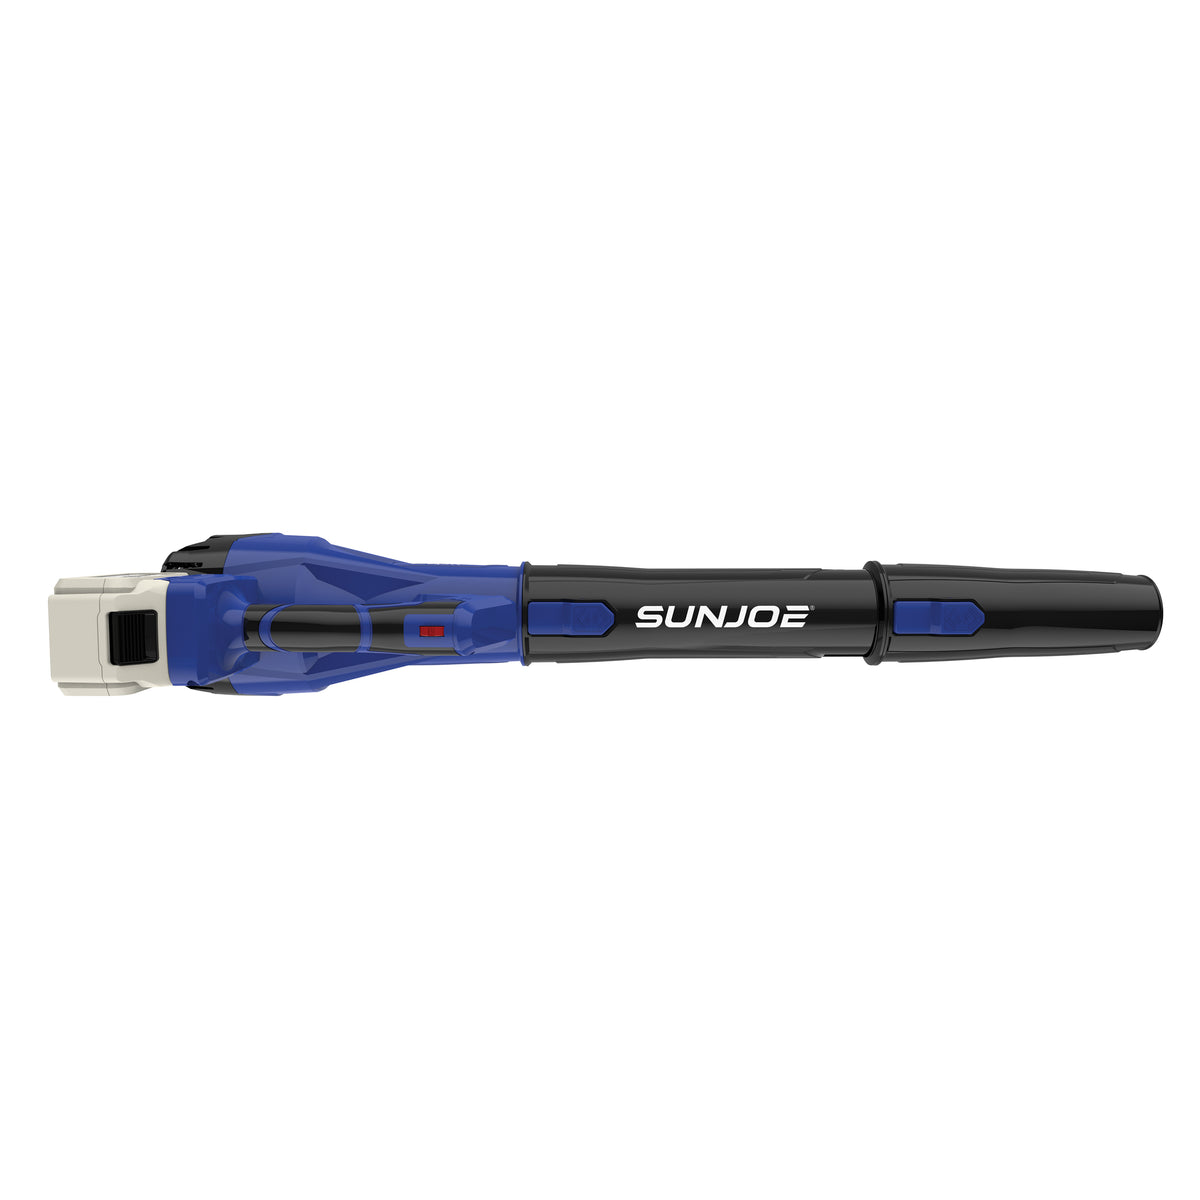

Color Options & Model Numbers
| Model Number | Color | Configuration |
|---|---|---|
| X20-CBLW-4A-BLU | Blue | Blower kit with 1 × 4.0 Ah battery + charger |
| X20-CBLW-4A-GRN | Green | Blower kit with 1 × 4.0 Ah battery + charger |
| X20-CBLW-4A-RED | Red | Blower kit with 1 × 4.0 Ah battery + charger |
Key Components
Start button - turns the blower on and off.
Speed-level button - cycles through Levels 1-6 or jumps directly to maximum speed when held.
Handle - the primary grip for one-hand control.
Battery compartment - secures the 20V ECOSHARP® battery until it clicks into place.
Air inlet - supplies cooling and operating airflow; keep it clear of hair, clothing, and debris.
Upper blower tube - connects the blower body to the lower tube.
Lower blower tube - directs airflow toward the work surface.
20V charger - charges the included 4.0 Ah battery through its charge socket.
Charger plug - connects the charger to the battery charge socket.
Charge socket - receives the charger plug while the battery is removed from the blower.
Battery-indicator button - displays the approximate remaining charge.
Battery indicators - three LEDs show battery charge and charging progress.
20V 4.0 Ah lithium-ion battery - provides cordless power for each color variant.
Technical Specifications
| Specification | X20-CBLW-4A |
|---|---|
| Product Type | Cordless compact leaf blower |
| Available Colors | Blue, green, and red |
| Power Source | 20V ECOSHARP® lithium-ion battery |
| Battery Voltage Max | 20V DC max* / 18V nominal |
| Included Battery | 1 × 4.0 Ah lithium-ion battery |
| Battery Model | X20-BATT-4A |
| Motor | Brushless |
| Low Gear Speed | 13,000 RPM |
| High Gear Speed | 23,000 RPM |
| Airspeed Levels | Level 1: 21 m/s; Level 2: 24 m/s; Level 3: 28 m/s; Level 4: 33 m/s; Level 5: 37 m/s; Level 6: 40 m/s |
| Charger Input | 120V AC, 60 Hz, 75 W |
| Charger Output | 20V DC, 0.75 A |
| Maximum Charge Time | 5-6 hours |
| Net Weight with Tube | 4.189 lbs / 1.9 kg |
| Product Manual | Download X20-CBLW-4A Manual |
| Warranty | 1 Year Limited Warranty |
*Initial no-load voltage, when fully charged, peaks at 20V; nominal voltage under typical load is 18V.
What's in the Box
| Included Item | Quantity |
|---|---|
| Cordless compact leaf blower body | 1 |
| Upper blower tube | 1 |
| Lower blower tube | 1 |
| 20V ECOSHARP® 4.0 Ah lithium-ion battery | 1 |
| 20V ECOSHARP® lithium-ion charger | 1 |
| Operator's manual | 1 |
Start Here: Before First Use
Battery Charging
Remove the battery
Press the battery push-lock button and pull the battery pack out of the blower.
Connect the charger
Plug the charger adapter into an appropriate AC outlet, then connect the charger plug to the battery's charge socket.
Watch the three battery LEDs
The indicator LEDs twinkle and illuminate one by one while charging. Allow approximately 5-6 hours for a full charge.
Disconnect when all three LEDs are lit
Unplug the charger from the wall outlet first, then disconnect the charger plug from the battery.
Attach the Blower Tube
Confirm the battery is removed
The blower must be off, the battery removed, and the fan completely stopped before the tubes are attached or checked.
Align the tube pieces
Arrange the upper and lower blower tubes in the illustrated order and align the connection notches with the blower body.
Slide together until secure
Push the tube assembly into place until the connection clicks. Check that the tube is firmly seated before installing the battery.
Starting & Stopping
Check the work area
Confirm the tube is secure, the air inlet is clear, and the blower is in good condition. Remove objects that may be thrown and keep loose clothing, jewelry, scarves, and long hair away from the air inlet.
Insert the charged battery
Slide the battery into the compartment until it clicks and locks in place.
Start the blower
Press the ON/OFF start button. The blower starts at Speed Level 1.
Stop and allow the fan to settle
Press the ON/OFF button to stop. Wait for the fan to stop completely before setting the blower down, inspecting it, or removing the battery. Wait at least five seconds before restarting.
Adjusting Airspeed
Begin at Level 1
Each time the blower is started, it begins at the lowest airspeed setting.
Tap to increase one level
Press the speed-level button once to move up by one setting. After Level 6, the next press cycles back to Level 1.
Hold for maximum speed
Press and hold the speed-level button to jump directly to Level 6 and maintain maximum airflow.
| Level | 1 | 2 | 3 | 4 | 5 | 6 |
|---|---|---|---|---|---|---|
| Airspeed | 21 m/s | 24 m/s | 28 m/s | 33 m/s | 37 m/s | 40 m/s |
Blowing Tips
Use stable footing
Operate only from ground level. Keep a firm grip on the handle and do not use the blower from a ladder or unstable support.
Sweep side to side
Hold the lower tube several inches above the ground or floor, move it side to side, and advance slowly while keeping the debris pile in front of you.
Prepare stubborn debris
Use a rake or broom to loosen material before blowing. In dusty areas, lightly dampen the surface when appropriate.
Protect people and property
Blow debris toward a safe, open area away from children, pets, open windows, freshly washed vehicles, and solid surfaces that may cause ricochet.
Use only in suitable conditions
Do not expose the blower to rain or wet conditions. Do not blow burning or smoking material, and do not use the tool in an explosive atmosphere.
Maintenance & Storage
Keep the air vents clear
Regularly remove dust and debris with a dry rag or brush. Never cover the air vents during operation.
Clean plastic carefully
Use mild detergent on a damp cloth if needed. Do not use caustic cleaning agents and do not allow water to contact the tool.
Inspect before storage
Check for worn, loose, or damaged parts. If the tool has excessive vibration, stop using it until the cause is corrected.
Store without the battery
Keep the blower in a dry, well-ventilated place that children cannot access. Store it away from corrosive agents.
Recycle the battery responsibly
Follow federal, state, and local recycling rules. Cover the battery terminals with electrical tape before disposal to prevent a short circuit.
Troubleshooting Guide
Before checking the blower, press the ON/OFF button, remove the battery, and wait for the fan to stop completely. Perform only the safe checks below.
Blower Will Not Start
Possible Causes
- Battery is not fully inserted
- Battery is discharged
- Battery may be faulty
Solutions
- Remove and reinsert the battery until it clicks
- Fully charge the battery for approximately 5-6 hours
- Test with a known working, compatible X20 battery if available
- Do not use a damaged battery
Blower Shuts Off During Use
Possible Causes
- Battery charge is low
- The blower is overloaded
- The motor or battery has overheated
Solutions
- Recharge the battery
- Use a lower airspeed and clear lighter passes
- Turn the blower off, remove the battery, and allow 10-15 minutes to cool before restarting
Airflow Is Weak
Possible Causes
- Battery charge is low
- The air inlet is blocked
- A low speed level is selected
Solutions
- Recharge the battery
- Turn the blower off, remove the battery, and clear debris from the air inlet
- Restart and select the lowest higher speed that completes the task
Excessive Vibration or Noise
Possible Causes
- The blower tube is not secure
- The blower may have internal damage
Solutions
- Stop the blower, remove the battery, and reattach the tube firmly
- If vibration or noise continues, stop using the tool
- Have the blower checked by an authorized service provider
Battery Will Not Charge
Possible Causes
- Battery is too hot or too cold
- Charger connection or wall outlet is not working
- Battery or charger may be damaged
Solutions
- Allow the battery to return to room temperature
- Reconnect the charger and test the wall outlet
- Use only the compatible X20 charger
- Replace damaged charging equipment through an authorized source
View the X20-CBLW-4A
Open the product listing in the preferred color or download the official operator's manual.